A Step-by-Step Guide on How to Fiberglass a Pond
I still remember the first time I thought, “This pond liner is not going to last another season.” The edges looked tired. The soil around it felt damp in places it should not. And that faint, swampy smell, not great.
That is when I started reading about fibre-glassing, half curious, half doubtful. It sounded complicated. It was not. Just slow. Messy. A bit smelly. But very, very solid once done.
In the middle of all that reading, I kept seeing London pond fibreglassing mentioned several times, especially alongside the name That Pond Guy. You know when a company name pops up again and again, and you start trusting it without realising. Their approach made it feel less like a specialist-only job and more like something a careful person could actually do with time and patience.
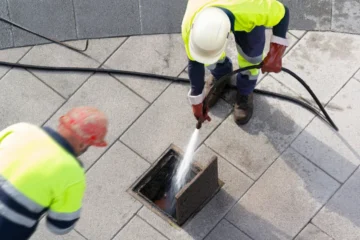
Drain the pond completely, and no shortcuts
This part feels obvious, but you cannot rush it.
- Remove fish, plants, pumps, everything
- Drain every bit of water
- Let the pond dry fully before moving on
As it dries, you start noticing cracks, rough patches, and uneven spots you ignored before.
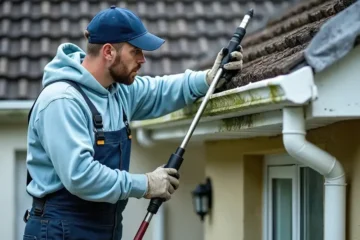
Clean and smooth the surface
Prep work. Not exciting. Very necessary.
- Scrub away algae, dirt, and old liner residue
- Fill gaps and cracks with sand and cement mix
- Allow the surface to dry again
There will be dust everywhere. Hands grey. Mild regret is setting in.
Position the fibreglass matting
Now it starts to look serious.
- Cut matting into smaller, manageable sheets
- Lay them carefully across the pond surface
- Overlap edges slightly so there are no weak joins
At this stage, it just looks like soft fabric sitting there. Harmless looking.
Apply the resin mixture
This is where things change fast. And the smell hits you.
- Mix the resin with the catalyst carefully
- Pour onto the mat and spread using a roller
- Watch the mat turn transparent as it absorbs the resin
It is oddly satisfying to see it harden in front of you.
Focus on corners and tight areas
Corners are tricky. Take your time here.
- Use smaller mat pieces
- Press resin firmly into angles
- Remove air bubbles as you go
You will find yourself obsessing over tiny bubbles.
Let it cure without touching
This is the patience test.
- Leave it untouched at least for 24 hours
- Avoid walking on it
- Resist the urge to “just check” if it is hard
It becomes rock solid. Like a shell.
Apply the topcoat
This gives the final pond-safe finish.
- Use a pigmented topcoat evenly
- Allow another curing period
- Step back and look at it properly
It finally starts to resemble a proper pond again.
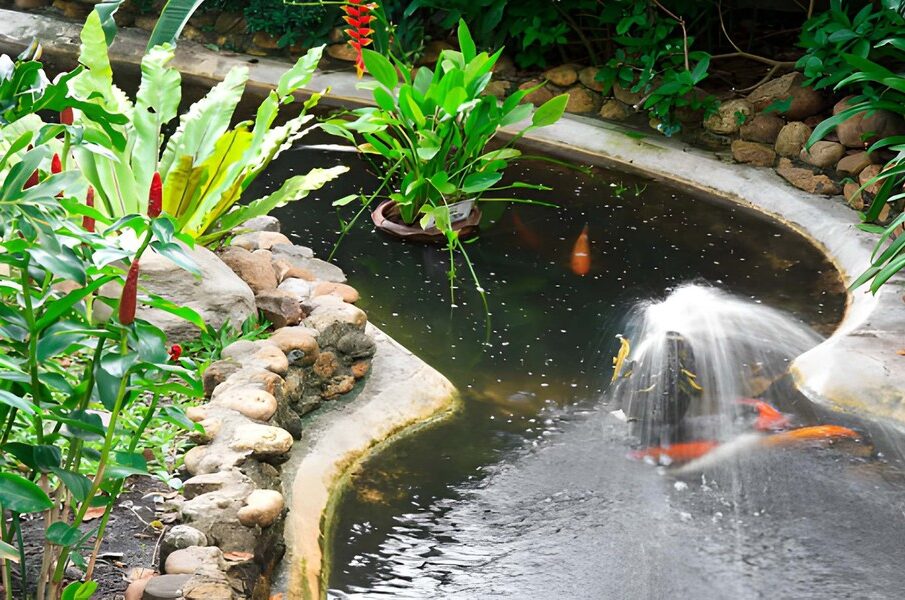
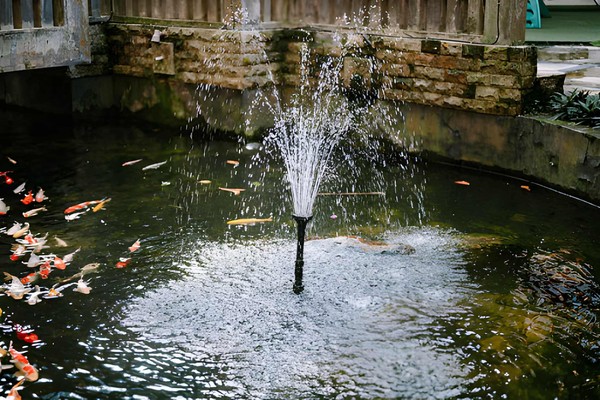
Refill and bring it back to life
The most satisfying part.
- Reinstall equipment and plants
- Slowly refill with water
- Reintroduce fish after the water settles
Watching the water rise over that smooth surface feels strangely rewarding. Fibre-glassing is not quick, and it is not tidy, but it turns a fragile liner into something that feels permanent. And once it is done, you stop worrying about leaks for a very long time.